
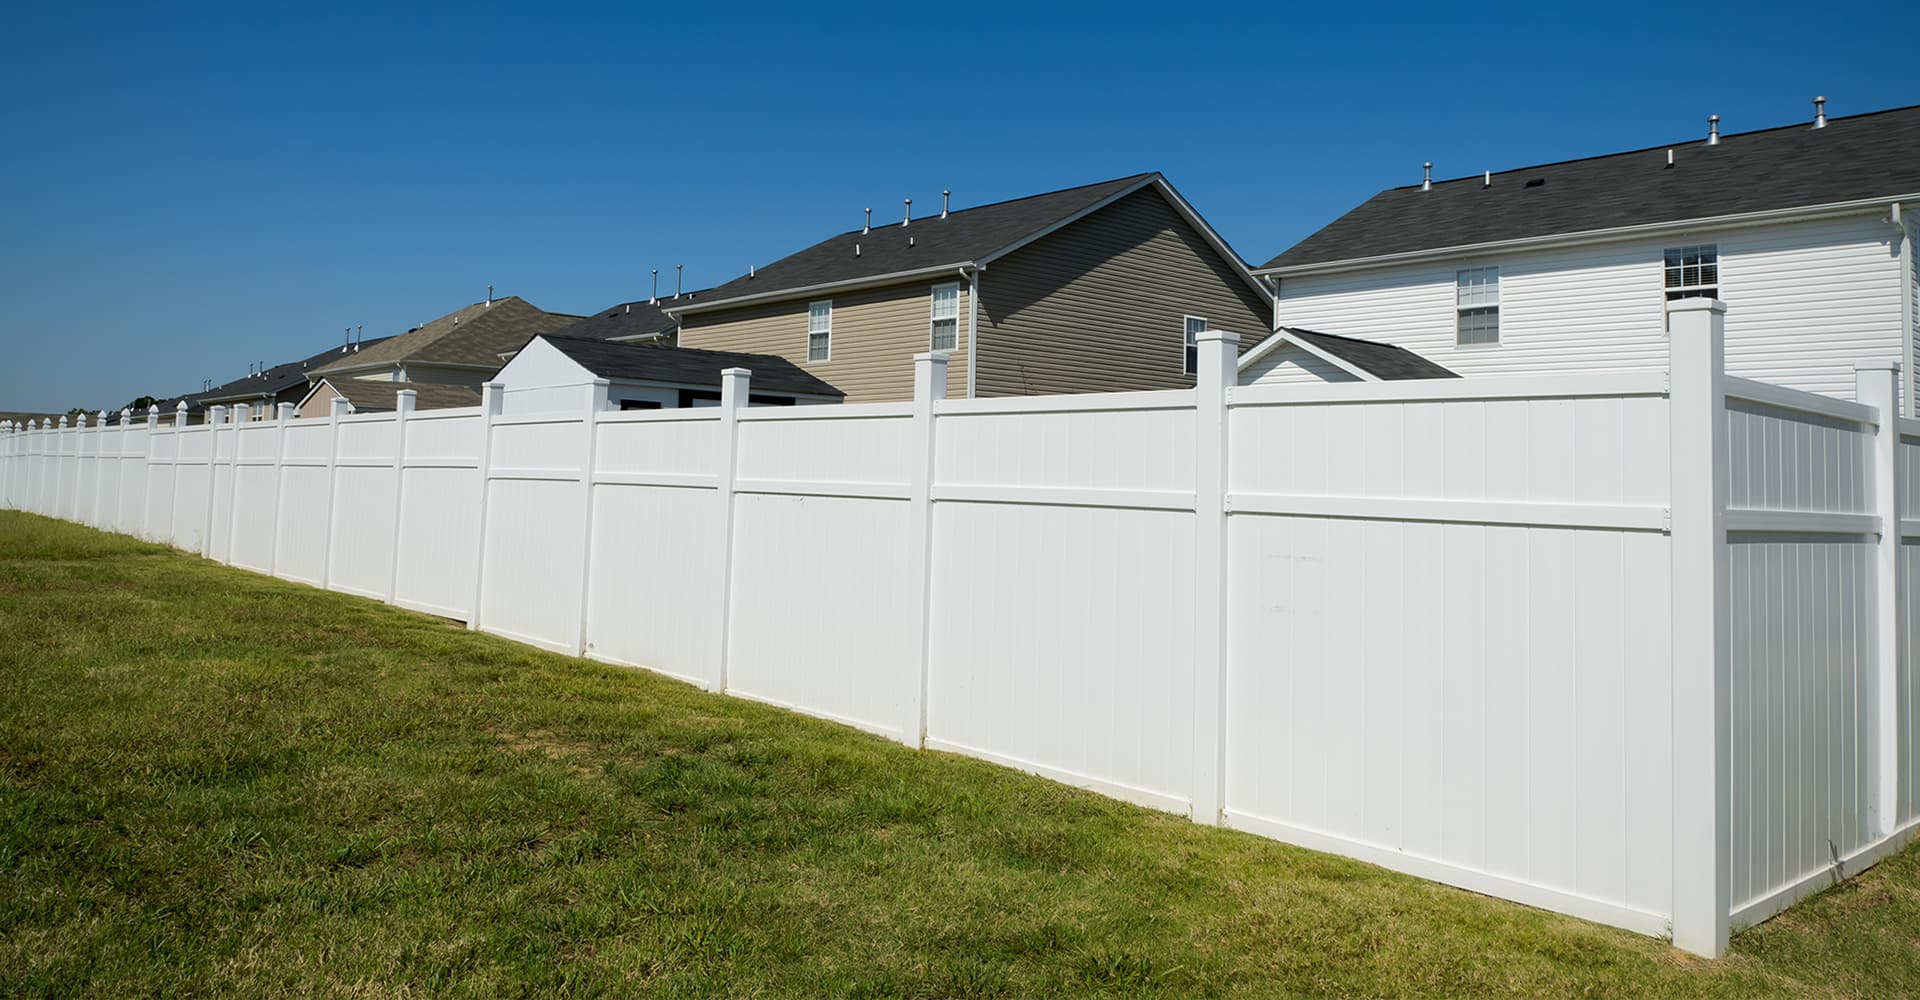
How to Clean Vinyl Fence Panels: A Step-by-Step Guide
Vinyl fences are popular because they look good and require less maintenance than many other fencing materials. Still, dirt, grass clippings, mildew, and everyday outdoor buildup can leave even a beautiful fence looking dull.
The good news? Most vinyl fence panels are easy to clean with supplies you already have at home.
If you're wondering how to clean vinyl fence panels without scratching or damaging them, this guide walks you through the process. You'll learn which cleaning solutions work best, how to handle stubborn stains, and when a fence problem needs more than a simple wash.
PROJECT-GUIDED BY EMPIRE FENCE [TRUST BLOCK] Practical fencing guidance backed by Empire Fence's experience serving residential and commercial properties. We help homeowners, property managers, and business owners understand fence maintenance, spot damage early, and make informed repair or replacement decisions. Our focus is on protecting privacy, security, curb appeal, and the long-term value of your property.
QUICK ANSWER [FEATURED ANSWER BLOCK] The easiest way to clean vinyl fence panels is to rinse them with a garden hose, wash them gently with warm water and mild dish soap, and scrub stubborn dirt using a soft-bristle brush or sponge. Work in small sections, rinse thoroughly before the soap dries, and avoid abrasive cleaners. For tougher stains, use a cleaner approved for your fence's finish.
AT A GLANCE [RESPONSIVE SUMMARY TABLE] | Cleaning detail | Recommendation | |---|---| | Difficulty | Easy for routine cleaning | | Estimated time | About 30–60 minutes for a small fence section; longer for larger fences | | Best everyday cleaner | Mild dish soap and warm water | | Essential tools | Garden hose, bucket, soft-bristle brush or sponge | | Optional supplies | Microfiber cloth, vinyl-safe cleaner, gloves | | Cleaning frequency | About once or twice a year, or whenever buildup appears | | Main precaution | Avoid abrasive tools, aggressive pressure, and unapproved chemicals |
What You'll Need to Clean Vinyl Fence Panels
Before starting, gather your supplies. Having everything ready makes the job easier and helps prevent cleaning solution from drying on the panels while you look for another tool.
For routine vinyl fence cleaning, you'll need:
- Garden hose: Removes loose dust, soil, and cleaning residue.
- Bucket of warm water: Provides the base for your cleaning solution.
- Mild dish soap: Helps loosen everyday dirt and grime.
- Soft-bristle brush: Cleans textured panels, grooves, and stubborn dirt without heavy scrubbing.
- Sponge or microfiber cloth: Works well on smooth surfaces.
- Protective gloves: Helps protect your hands from dirt and cleaning products.
You can also keep a manufacturer-approved vinyl fence cleaner nearby for stains that soap and water cannot remove.
Avoid steel wool, wire brushes, abrasive scouring pads, and strong solvents. These may scratch, dull, discolor, or otherwise damage the vinyl surface.
Start with the gentlest cleaning method and use stronger products only when necessary.
How to Clean Vinyl Fence Panels in 7 Easy Steps
You don't need expensive equipment to clean most vinyl fencing. Following these seven steps can remove ordinary dirt while protecting the panels' finish.
Step 1: Inspect and Prepare the Fence
Take a few minutes to look over the fence before cleaning.
Check for visible cracks, loose panels, damaged rails, leaning posts, or gates that no longer close properly. Pay special attention to areas near the ground, where moisture, soil, and grass clippings collect.
Move outdoor furniture, planters, and other items away from the fence so you can reach the entire surface.
If you have delicate plants nearby, protect them from cleaning products and avoid letting concentrated runoff collect around their roots.
Finding damage now also helps you avoid putting pressure on a weak panel while scrubbing.
Step 2: Rinse Away Loose Dirt
Start by spraying the fence with a garden hose.
Work from the top toward the bottom, paying attention to corners, grooves, and the spaces between panels.
This first rinse removes loose dust, cobwebs, pollen, grass clippings, and other debris.
Small dirt particles can act like sandpaper when rubbed against vinyl. Washing them away first reduces the chance of scratching the finish.
For a fence with only light dust, this step may be enough to restore its appearance.
Step 3: Mix a Mild Cleaning Solution
Fill a bucket with warm water and add a small amount of mild liquid dish soap.
Stir gently until the soap mixes with the water. You only need enough soap to loosen dirt, not a bucket full of foam.
This simple cleaning solution works well for most everyday vinyl fence maintenance.
Avoid adding bleach, ammonia, or other chemicals to the mixture. Combining cleaning products can create dangerous reactions, and stronger chemicals aren't necessary for ordinary dirt.
If you're using a commercial vinyl fence cleaner instead, follow its label and confirm that it's suitable for your particular fence.
Step 4: Test the Cleaner on a Small Area
Before washing the entire fence, test your cleaning solution on a small, less visible section.
Apply a little cleaner with your sponge or cloth, gently wipe the surface, and rinse it thoroughly.
Once the area dries, check for discoloration, dullness, or other changes.
This is especially important for colored vinyl panels or fencing with a textured or specialty finish.
A quick spot test can help you avoid a much larger problem.
Step 5: Gently Scrub Each Panel
Dip your soft-bristle brush, sponge, or microfiber cloth into the cleaning solution.
Begin at the top of the fence and work downward using gentle, overlapping strokes.
Focus on areas where dirt collects, especially:
- Lower panels exposed to soil and lawn debris.
- Corners and grooves that trap dust.
- Shaded areas where green buildup develops.
- Sections close to roads or driveways.
Clean one small section at a time rather than applying soap to the entire fence at once.
If you find a stubborn patch, let the cleaning solution sit briefly, as permitted by its instructions, before gently scrubbing again.
Don't press harder just because a stain won't come off. More force can scratch the vinyl without solving the actual problem.
Step 6: Rinse Thoroughly With Clean Water
Once you've scrubbed a section, rinse it completely using your garden hose.
Start at the top and let the water carry the soap and loosened dirt downward.
Pay attention to joints, edges, and textured areas where cleaning residue may collect.
Leaving soap on the fence can create streaks or a cloudy appearance, especially when the surface dries in direct sunlight.
For the best results, clean on a mild, cloudy day or during a cooler part of the day.
Step 7: Check the Results and Let the Fence Dry
After rinsing, allow the fence to air-dry.
Walk along the panels and look for spots you may have missed.
If you notice remaining dirt, repeat the gentle cleaning process on those areas rather than scrubbing the entire fence again.
You can wipe noticeable water spots with a clean microfiber cloth.
While inspecting the finished fence, check the posts, rails, and gate hardware one more time.
Cleaning restores appearance, but it doesn't fix structural problems. If a panel is cracked or a post is unstable, that issue deserves separate attention.
How to Remove Stubborn Stains From Vinyl Fencing
Some marks won't disappear with ordinary soap and water.
Mold, algae, rust-colored stains, and marks from outdoor equipment may need different cleaning methods.
The key is choosing a solution that addresses the stain without harming the vinyl.
| Stain type | Recommended first approach | |---|---| | Dirt and mud | Warm water, mild dish soap, and a soft brush | | Grass clippings | Garden hose followed by gentle washing | | Mold or mildew | Soap and water, followed by a vinyl-approved mildew cleaner if needed | | Green algae | Soft brushing and a suitable outdoor vinyl cleaner | | Rust-colored stains | Vinyl-safe rust remover approved for the surface | | Grease marks | Mild dish soap, then a compatible specialty cleaner if needed | | Paint splatters | Prompt cleaning with soapy water; seek product-specific advice for dried paint |
Always test specialty products in a hidden area and follow the instructions provided by the cleaner and fence manufacturer.
Removing Mold, Mildew, and Algae
Green or dark patches commonly develop on fencing exposed to shade, moisture, and nearby vegetation.
Start by rinsing the affected area and washing it with mild soap and water.
Use a soft brush to lift the buildup without scratching the surface.
If the marks remain, a vinyl-compatible mildew or algae cleaner may help. Choose one approved for your fence's color and finish.
Some cleaning guides suggest diluted white vinegar for light organic buildup. However, not every fence manufacturer recommends the same solution or concentration. Check the care instructions before using it.
Avoid leaving any cleaner on the surface longer than directed, and rinse thoroughly afterward.
If the buildup returns quickly, look for the cause. Overgrown plants, constant sprinkler spray, and poor drainage can keep fence surfaces damp.
Removing Rust and Other Tough Stains
Vinyl itself doesn't rust, but nearby metal objects can leave rust-colored marks.
Fence hardware, outdoor furniture, irrigation water, and metal tools are possible sources.
First, clean the area with mild soap and water. If the mark remains, choose a rust-removal product specifically approved for vinyl or PVC.
Don't use steel wool or a metal scraper. Both can scratch the surface and make future staining harder to manage.
Grease, dried paint, and other unusual stains may also require specialty products.
Avoid acetone, lacquer thinner, and other aggressive solvents unless the fence manufacturer explicitly approves the product and method.
If you're unsure which cleaner is safe, it's better to ask than risk permanent surface damage.
Cleaning White and Colored Vinyl Panels
White vinyl fencing often shows dirt, grass stains, and discoloration more clearly than darker fencing.
However, colored panels need special care because harsh chemicals can affect their finish or appearance.
For both white and colored vinyl, start with mild soap and water.
Use stronger products only when the manufacturer confirms they're suitable.
Never assume a cleaning method recommended for one type of vinyl fencing is safe for every other type.
If a white panel remains yellowed or faded after proper cleaning, the discoloration may involve aging or surface changes rather than removable dirt.
Repeated scrubbing won't necessarily restore the original color.
Can You Pressure Wash Vinyl Fence Panels?
Yes, some vinyl fences can be pressure washed, but it isn't always the safest or most necessary cleaning method.
A garden hose and soft brush are usually enough for routine maintenance.
Pressure washing may be useful for a large fence with widespread dirt, but excessive pressure can damage the surface, force water into joints, or loosen already damaged components.
If you're considering a pressure washer:
- Check the fence manufacturer's cleaning instructions first.
- Use only a pressure setting permitted for that fence.
- Start from a safe distance with a wide spray pattern.
- Test a small, hidden section before continuing.
- Keep the spray moving rather than concentrating it in one spot.
- Avoid spraying directly into panel joints, post caps, or damaged areas.
- Never direct the spray toward people, animals, or electrical equipment.
There's no single pressure setting that's safe for every vinyl fence. The right method depends on the manufacturer's guidance, the equipment, and the condition of the panels.
If your fence is old, cracked, or unstable, skip pressure washing until the damage is assessed.
For most homeowners, gentle washing is the better starting point.
Common Vinyl Fence Cleaning Mistakes to Avoid
Cleaning a vinyl fence is straightforward, but a few mistakes can turn a simple maintenance job into a repair problem.
Using abrasive brushes or pads. Wire brushes and harsh scrubbing pads can leave permanent scratches. Choose soft cleaning tools instead.
Letting soap dry on the fence. Cleaning solutions can leave residue and streaks when they dry before rinsing. Work in small sections and rinse promptly.
Using unapproved chemicals. Strong bleach mixtures, solvents, and acidic products may harm certain finishes or surrounding plants. Follow manufacturer instructions and never mix cleaning chemicals.
Using too much pressure. Aggressive scrubbing or high-pressure water can damage a panel, especially if the fence is already weakened.
Ignoring damaged posts and rails. A clean fence isn't necessarily a safe or stable fence. Cracked panels, loose rails, and leaning posts need attention beyond surface cleaning.
Waiting until stains become severe. Routine cleaning is usually easier than dealing with months of buildup.
Avoiding these mistakes helps protect your fence's appearance and reduces unnecessary maintenance work.
How Often Should You Clean a Vinyl Fence?
Most vinyl fences benefit from a thorough cleaning about once or twice a year.
However, the right schedule depends on your property's conditions.
A fence beside a busy road may collect dust more quickly. One near sprinklers or heavy landscaping may develop mineral deposits, mildew, or algae more often.
Consider these simple maintenance habits:
- Rinse off grass clippings after mowing.
- Remove bird droppings and visible stains before they sit for long periods.
- Keep shrubs and vines from crowding the panels.
- Check shaded sections for recurring green buildup.
- Inspect posts, rails, and gates during seasonal cleaning.
- Remove dirt buildup around the bottom of the fence.
You don't need to scrub the entire fence every time you notice a mark.
A quick rinse or spot cleaning often prevents a small problem from spreading.
Consistent maintenance helps preserve the fence's appearance and makes it easier to notice damage early.
When Cleaning Isn't Enough: Repair or Replacement
Sometimes a fence still looks worn after cleaning because dirt isn't the main problem.
A cracked panel, broken rail, leaning post, or misaligned gate cannot be fixed with soap and water.
Watch for these signs:
- Panels with visible cracks or holes.
- Rails separating from posts.
- Loose or leaning fence sections.
- Gates that drag, sag, or fail to latch properly.
- Broken components that leave gaps in the fence.
- Surface damage that remains after appropriate cleaning.
If the damage is limited to one area, replacing an individual component may be more practical than replacing the entire fence.
However, widespread damage, unstable posts, or an aging fence with repeated failures may require a more extensive solution.
An experienced Fence Contractor can assess the damage and help determine whether a targeted repair or replacement makes better sense.
For homeowners and property managers working with a Fence Company in Ontario, CA, the decision should consider fence stability, privacy, security, and the property's long-term needs.
Replacement can also be an opportunity to reconsider the fence material.
For example, if visibility, durable perimeter coverage, or practical security matters more than full privacy, chain link fence installation may be worth considering.
The goal isn't to replace a fence simply because it's dirty. It's to recognize when a maintenance issue has become a repair or safety concern.
Frequently Asked Questions About Vinyl Fence Cleaning
What is the best cleaner for vinyl fence panels?
For everyday dirt and grime, mild liquid dish soap mixed with warm water is usually the best place to start. Use a soft sponge or brush, then rinse thoroughly. For tougher stains, select a vinyl-compatible cleaner approved by the fence manufacturer.
Can I use vinegar to clean a vinyl fence?
Diluted white vinegar is sometimes used for light buildup, but its suitability depends on the fence and its finish. Check the manufacturer's recommendations, test a small hidden area, and rinse thoroughly. Don't mix vinegar with bleach or other cleaning chemicals.
Can I use bleach on a vinyl fence?
Some manufacturers permit carefully diluted bleach solutions for particular stains, especially on white vinyl. Others recommend avoiding bleach. Follow your fence manufacturer's instructions, protect nearby plants, and never mix bleach with vinegar, ammonia, or other cleaners.
How do I remove green algae from vinyl fencing?
Start by rinsing the algae-covered area with water. Wash gently with mild dish soap and a soft-bristle brush. If buildup remains, use a manufacturer-approved algae cleaner. Trimming nearby plants and reducing constant moisture may help prevent it from returning.
Can pressure washing damage vinyl fence panels?
Yes. Excessive water pressure, the wrong nozzle, or spraying too close can mark the vinyl, damage weak components, or force water into joints. Check manufacturer instructions before pressure washing. A garden hose and soft brush are often safer for routine cleaning.
How often should vinyl fencing be cleaned?
Cleaning once or twice a year is a reasonable starting point for many homes. Fences exposed to heavy dust, lawn debris, sprinklers, or shade may need more frequent rinsing or spot cleaning. Inspect the fence whenever you clean it.
Keep Your Fence Looking Good With the Right Care
Keeping vinyl fence panels clean doesn't have to be difficult.
A garden hose, mild soap, and soft brush can handle most everyday dirt. Regular cleaning also gives you the chance to spot loose components, developing cracks, and other problems before they become more serious.
Start with gentle cleaning methods, follow the manufacturer's care instructions, and avoid using excessive force on stubborn stains.
If your fence has structural damage, unstable posts, or panels that need replacement, Empire Fence can help you understand your options.
Request a Free Fence Estimate From Empire Fence
Whether you're dealing with a damaged fence section, a failing gate, or planning a new residential or commercial fence, Empire Fence offers practical recommendations based on your property's needs.
Call: (951) 783-2965 Hours: Monday–Saturday, 7 AM–7 PM
Get professional guidance on fence repair or replacement and take the next step toward a stronger, better-looking property.